


- August 21, 2025
Iron on patches are a fantastic way to express your style, cover a hole in your favorite jeans, or give a tired jacket a new lease on life. They’re fun, easy to use, and instantly transformative.
But if you’ve ever applied one only to have the corners peel up after the first wash, you know there’s a right way and a wrong way to do it. A successful iron on application is all about heat, pressure, and patience.
Follow this simple guide to ensure your patches stay put through thick and thin.
What You’ll Need:
- The Patch & The Garment: Obviously! Make sure the fabric of your garment can handle heat (more on that later).
- A Household Iron: Any standard iron will do. Steam settings are not your friend here, so make sure yours has a solid dry/no steam option.
- Parchment Paper or a Thin Cloth: This is crucial. You must place a barrier between the hot iron and the patch to prevent scorching and melting. A tea towel can work, but parchment paper is ideal as it distributes heat evenly.
- An Ironing Board or a Flat, Hard Surface: A firm, heat resistant surface is key. Ironing on a soft bed or a towel won’t provide enough pressure.
- Safety Pins or Tape: To hold your patch in place while you work.
The Step by Step Process
Step 1: Prep Your Garment and Position the Patch
First, wash and dry the garment without any fabric softener. Softeners can leave a residue that prevents the adhesive from bonding properly. Iron the area where the patch will go to ensure it’s perfectly smooth and flat any wrinkles will be permanent once the patch is on.
Place your patch exactly where you want it. Use safety pins or a tiny piece of tape on the back of the fabric to secure it temporarily. This prevents it from shifting when you start to iron. Pro Tip: For tricky placements (like on the knee of jeans), you can try the garment on and mark the spot with a safety pin while wearing it.
Step 2: Heat Up the Iron
Turn your iron to a high heat setting (usually linen or cotton). Crucially, turn OFF the steam function. Steam introduces moisture, which is the enemy of the heat activated adhesive on the back of your patch.
Let the iron heat up completely. A fully heated iron is non-negotiable for a strong bond.
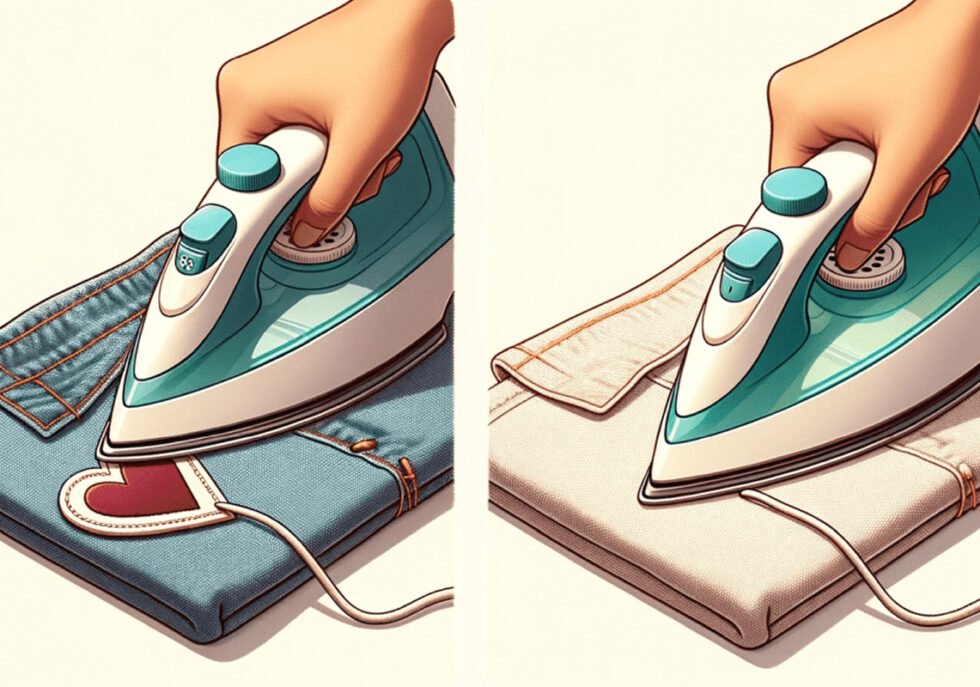
Step 3: Protect and Press
Place your garment on the ironing board with the patch facing up. Cover the patch completely with your piece of parchment paper or a thin cloth.
Now, press down firmly with the hot iron. Apply steady, strong pressure for 30-45 seconds. Don’t glide the iron back and forth like you’re ironing a shirt hold it completely still to concentrate the heat on the patch.
Step 4: Press All Edges and Corners
The edges are the most common failure point. After the initial press, keep the iron in one place and focus on applying pressure to the outer edges and corners of the patch for another 15-20 seconds each. Make sure you get every bit of the perimeter.
Step 5: Let It Cool Completely
This is the step everyone wants to skip don’t! The adhesive needs time to cool down and set into a solid bond. Carefully flip the garment over and let it sit for at least 5-10 minutes. If you can’t wait, you can even pop it in the freezer for a minute to speed up the process.
Step 6: The Final Test
Once it’s completely cool to the touch, gently try to lift a corner of the patch with your fingernail. If it starts to peel up easily, it needs more heat and pressure. Repeat the process, focusing on the areas that didn’t stick.
If it’s firmly bonded, you’re done! To be extra safe, wait 24-48 hours before washing the garment.
Important Tips & Troubleshooting
- Check Your Fabric: This method works best on cotton, denim, and canvas. Do not try to iron a patch onto nylon, rayon, leather, or any other synthetic or heat sensitive material. The fabric may melt or burn before the adhesive activates.
- What about delicate fabrics? If you want to put a patch on a jacket or bag made of a delicate material, your best bet is to sew it on. You can still iron it first to hold it in place, then stitch around the edges for a super secure, permanent hold.
- My patch still isn’t sticking! If you’ve repeated the process and it’s still not bonding, the adhesive on the patch might be old or low quality. All is not lost! You can still sew it on, or you can use a product like Fabri-Tac fabric glue for a no sew solution.
- Washing Instructions: For the longest life, always turn the garment inside out before washing and use a gentle cycle. Avoid harsh detergents and skip the dryer if possible let it air dry.
With these simple steps, you can confidently attach your custom iron on patches and make your gear uniquely yours. Now go forth and customize!